Installation
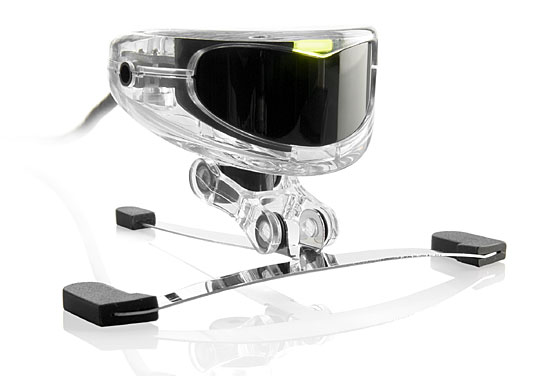
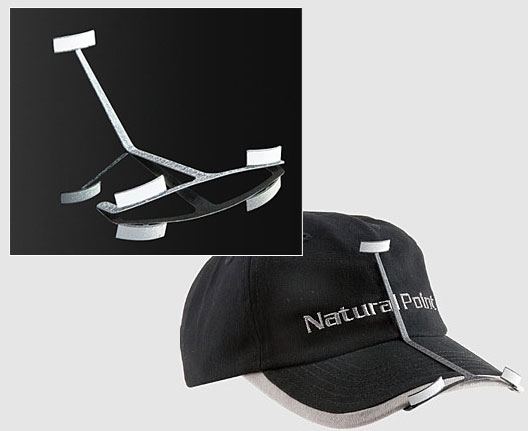
As with all the rest of my computer gaming gear, I had no patience whatsoever while awaiting the arrival of the latest addition to the family. When it was finally delivered, I tore into the box like a kid at Christmas and soon the contents were spread out across the table: One white TrackIR hat, one Vector metal clip, and a molded plastic package containing the TIR4 unit, a CD with the software, and a paper Quick Start guide. I could not believe the size of the TIR4. I always thought the TIR3 (which I nicknamed Eye Robot, or ER for short) was small. This new one was absolutely tiny!

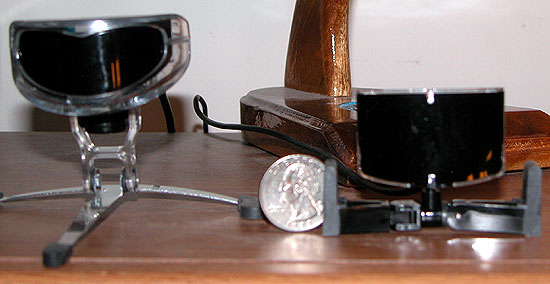
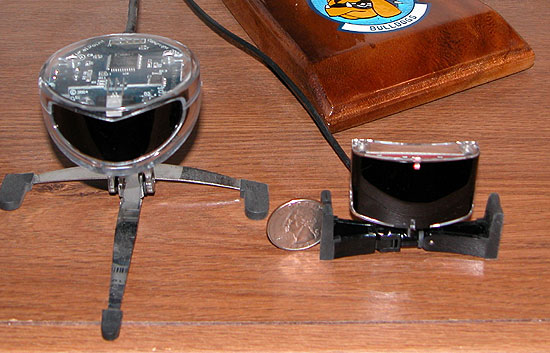
Here we have the two siblings atop my computer desk. The TIR4 is holding a quarter in it’s little hand (foot?). Think that’s a big difference? Take a look from the top down:
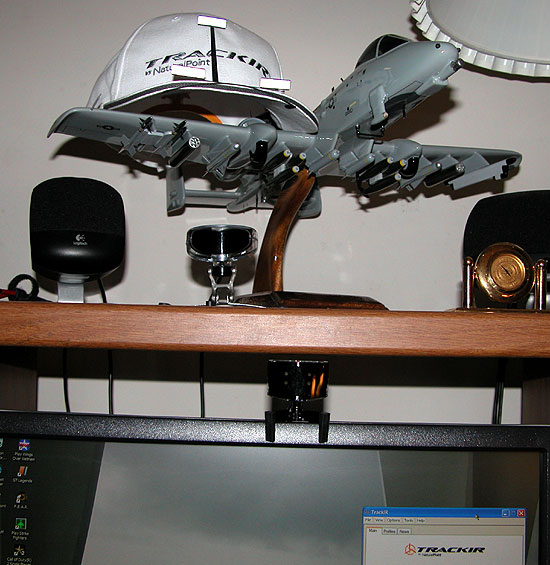
The install instructions tell you that the TIR4 is equipped to attach itself to the top of your flat screen monitor, should you so desire. With the available space of the top shelf of my desk, I don’t need to do that, but did it so you see that it does work as advertised. All you do is rotate the little guy’s appendages so that the two front legs (arms?) stick out the front and the rear hooks over the back. That’s the new hat with clip attached sitting on my A-10 in the background:
With the fascination for smallness passed, I decided to hook up and run my new gaming gadget. I assumed it would be necessary to first disconnect my old friend ER, and so I did. This was not without some angst, pulling the plug on him. We had been through many battles, many wars together, bathed only in the light of a monitor and ER’s eyes. Reaching behind the PC, it was done. The instructions didn’t say whether I had to remove any old versions of the TrackIR software, so I didn’t. Turns out, you get prompted by the install process and it then removes the old versions, after asking if you want to save your profiles you built somewhere. The installer finished and I plugged in tER (tiny Eye Robot). tER blinked at me with various colored lights as if to say “Let’s fly!”.