Installation and Setup
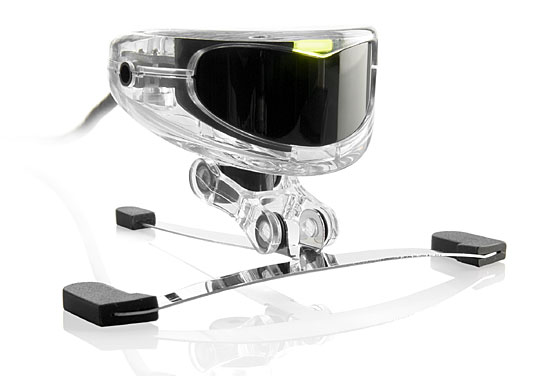
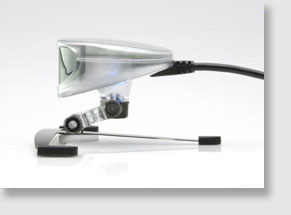
Setup of the hardware is relatively simple. Under Windows XP you just install the software from the disk, plug in the TrackIR and you are underway. It is recommended that you not install the device to a USB Hub so those folks with limited USB space may have some trouble. Others of us with 8 USB slots already don’t have that problem, but keep that in mind when you are ordering. With the way USB is now, even a hub can get filled up with USB mice, scanners, joysticks, pedals, throttles, modems, etc. etc. I haven’t tried it via my hub; I figure if there is a problem, I don’t want to contribute to it.
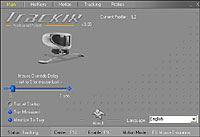
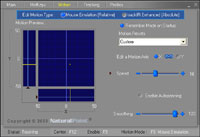
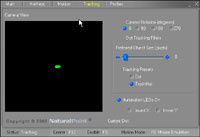
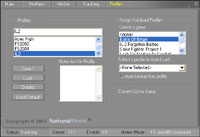
Once in, setting up the device is relatively simple. In the past getting the TrackIR setup correct with games sounded somewhat difficult — but the v3.01 software seems to get the device tracking fairly easily. There are some significant key points getting TrackIR to work properly.
 |
 |
 |
 |
Make sure that the device is installed at a level equal to your reflective device. TrackIR uses reflective dots to measure the ‘bounce back’ from the TrackIR device. These dots can be placed really anywhere, but most folks place them on a hat, glasses, or on the boom mike of their headset to keep them centered in one place. Right now, NaturalPoint is adding a free hat with reflective points sown on the brim and back. Having the device centered keeps you from drifting quite so much. Remember this is a mouse emulating device so any mouse drift from not centering the device will be transferred into a game.
Cut down on ambient light. This device picks up reflective light, both from the device and from the big picture behind you. I have a big nice glassed-in football jersey behind me which reflected on the TrackIR setup screen. It was able to filter it out, recognizing it as foreign, but smaller light returns could cause problems. Most folks with a light behind the TrackIR don’t seem to have much trouble. Since most of us fly in the relative dark anyway this shouldn’t be a major hassle.
Spend time getting to know the device. As you will read about later, it is easy to set up but getting used to it may be somewhat hard for some folks. It isn’t an instant plug and play joy. Like many of the HOTAS controllers we have come to love, there is a learning curve with the device and software.
One nasty bug that has shown-up causes some major problems for individuals with Hyperthreading Technology (HT) attached to the latest Pentium 4 processors. If you get a TrackIR2 and have a fast new computer, make sure you have the latest version of the software available here from NaturalPoint Support. The latest version of the software fixes the HT problem. Older versions will cause a runtime error with newer Intel boxes.
The TrackIR has two modes available.
The first, mouse emulation mode, is simply that; a mouse control used by the TrackIR system. Simply put, move your head around and the mouse moves with you. While simple and handy it does have its drawbacks. One drawback is, you can override the TrackIR with your mouse and vice versa. It is very hard getting the exact control you need with the mouse when using the TrackIR in mouse emulation. For example, clicking on a button in mouse emulation mode can be quite frustrating since any slight movement of your head takes the cursor out of position.
The other mode is enhanced mode. This is by far the better of the two since it will allow the head control function to work while in the game — at the same time allowing mouse movements independent of the head function. While useful, it requires the game developer to program compatibility for the TrackIR, and right now there are few games that natively support the TrackIR system. Notably, these games include IL2:FB and FS2004. I suspect that most new flight simulators, and probably quite a few first person shooters and some wargames will ship with TrackIR support.