After cutting out the window, I then tried to use the grinder cylinder on my Dremel to smooth out the uneven spots. Don’t do that, either. It just makes them more uneven. Use a coarse and then a fine-grain file for the long sections and a rat-tail file for the corners.
Then came installing the Lucite square itself. The easiest way to drill the screw holes for the Lucite is to use a drill press to drill a corner, thumb-tighten a screw in there and repeat for all four corners and then fill the other screws between them with more screws.
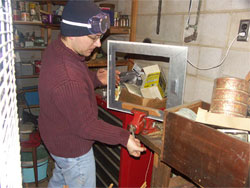 |
Vise Grip
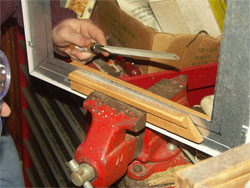
Filing the Door
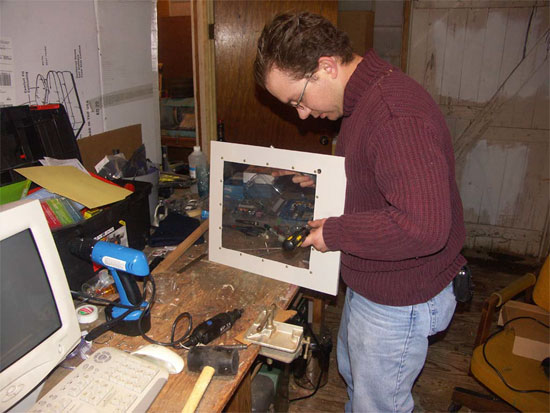
Attaching the Lucite
Once I had the Lucite in place, it was a heck of a lot easier to manhandle it into place to measure and cut out the fan hole. To measure my case fan hole I needed to cut in the Lucite, I put the case door back on the case, decided where my central point of my fan needed to be, and made a dot with the Sharpie.
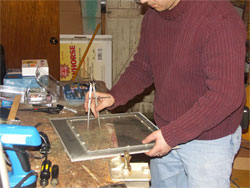
Marking the Fan Hole |
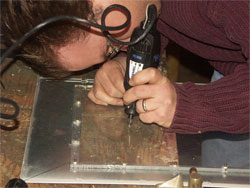
Marking the Fan Hole 2 |
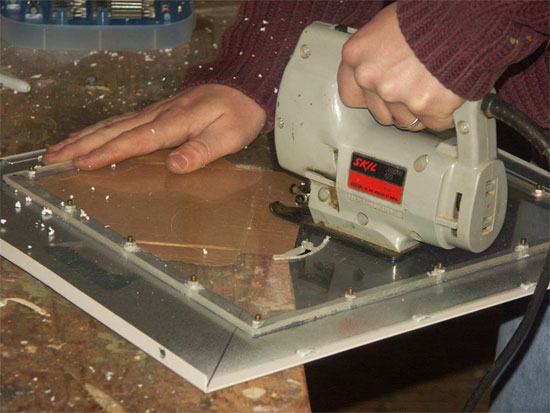
Cutting the Fan Hole
I then took the case door off, placed it flat on the bench and used a burr on my Dremel to make a divot on the central point. In order to make as good of a circle I could (I suppose you could cut a square hole, but it would choke off too much airflow, I’d think), I used a compass with a friction clamp and set it to 60mm. This gives you a nice 120mm circular hole.
To cut the Lucite, I used a sabre saw with a plywood blade. The smaller teeth will cut cleaner, but be sure not to try to cut too much at once or leave the saw in contact with the Lucite for very long, either. The heat will melt it and your saw will get stuck, which, by the waynever happened.
To prevent little fingers from getting nicked by the fan blades, I used yarn embroidery material to make a guard. Hey, it’s cheaper than one you can buy, and this article is about being cheap.
I used screws to put the 120mm fan in place and the door was done, and with two green LED 80mm fans in the front of the case, a 120mm green LED fan on the door, and three green LED arrays, it’s…well, it’s green.
Was it worth it? After running GT Legends, SWAT 4, and Falcon 4.0: Allied Force on it, I’d have to say, uh…yeah.
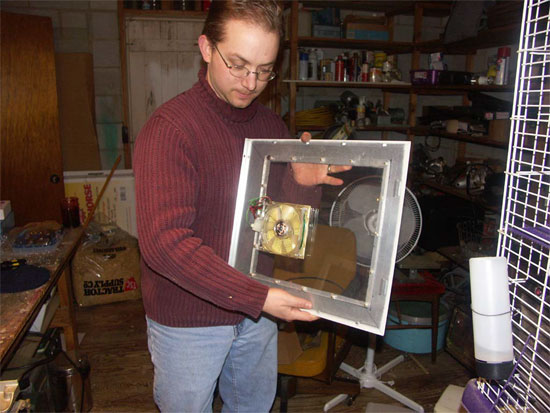
Finished Door
Go To Page 6
Related Posts:
Related posts:
 Building the Perfect PC Cabinet
 Page 2
Building the Perfect PC Cabinet Page 3
Building the Perfect PC Cabinet Page 4
Building the Perfect PC Cabinet Page 6
Building the Perfect PC Cabinet Page 7
Building the Perfect PC Cabinet Page 8
Building the Perfect PC Cabinet Page 9
Building the Perfect PC Cabinet
Building the Perfect PC Cabinet Page 2
Building the Perfect PC Cabinet Page 3
Building the Perfect PC Cabinet Page 4
Building the Perfect PC Cabinet Page 6
Building the Perfect PC Cabinet Page 7
Building the Perfect PC Cabinet Page 8
Building the Perfect PC Cabinet Page 9